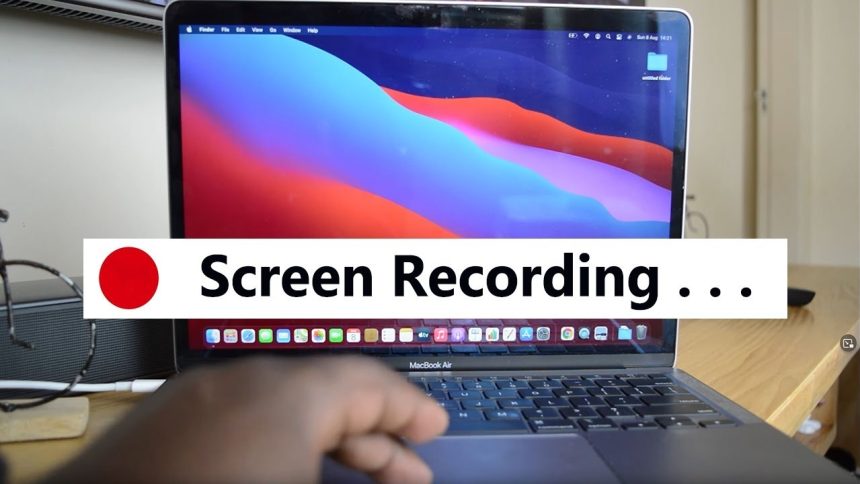
Screen recording on a Mac is an essential feature for various users, from content creators and educators to professionals and gamers. Whether you need to record your screen for tutorials, presentations, or personal use, macOS offers built-in and third-party solutions to make the process seamless. In this comprehensive guide, we will walk you through step-by-step methods to screen record on Mac, including shortcuts, third-party apps, and pro tips for high-quality recordings.
1. How to Screen Record on Mac Using Built-in Tools
1.1 Screen Record with QuickTime Player
QuickTime Player, a pre-installed application on macOS, allows users to record their screen without additional software.
Steps to Record Your Screen Using QuickTime Player:
- Open QuickTime Player: Use Spotlight Search (
Command + Space) and type QuickTime Player. - Go to File Menu: Click on
File>New Screen Recording. - Screen Recording Toolbar: A small recording window will appear with a red button.
- Choose Recording Settings: Click the dropdown arrow next to the red record button to select:
- Microphone Input (if you want to record audio)
- Show Mouse Clicks (if necessary)
- Start Recording: Click the red record button, then click anywhere to record the full screen or drag to record a specific area.
- Stop Recording: Click the stop button in the menu bar or press
Command + Control + Esc. - Save the Recording: After stopping, QuickTime opens the recorded file automatically. Click
File > Saveto store it in your preferred location.
1.2 Screen Record with macOS Screenshot Toolbar
Since macOS Mojave (10.14), Apple introduced a built-in Screenshot Toolbar to simplify screen recordings.
Steps to Use the Screenshot Toolbar for Screen Recording:
- Press
Command + Shift + 5to launch the toolbar. - Select Recording Option:
- Click
Record Entire Screento capture the whole screen. - Click
Record Selected Portionto record a specific area.
- Click
- Customize Settings:
- Choose microphone input (for audio recording).
- Set a timer for a delayed start.
- Change save location.
- Click ‘Record’ to begin recording.
- Stop the Recording by clicking the stop icon in the menu bar or using
Command + Control + Esc. - Find Your Recording: The file is automatically saved to the location you specified.
2. How to Record Screen with Audio on Mac
By default, macOS does not allow internal audio recording. However, you can record both system sound and microphone input using additional software.
2.1 Using QuickTime Player with External Audio
- Open QuickTime Player and select
New Screen Recording. - Click the dropdown menu and select Internal Microphone.
- Start recording as usual.
2.2 Using Soundflower to Record Internal Audio
Soundflower is a third-party extension that allows Mac users to capture internal audio.
- Download and Install Soundflower.
- Set Up Sound Preferences:
- Go to
System Preferences > Sound > Outputand select Soundflower (2ch). - Change the input setting to Soundflower (2ch).
- Go to
- Use QuickTime Player: Start a new screen recording and select Soundflower as the audio source.
3. Best Third-Party Apps for Screen Recording on Mac
If you need more advanced features like editing, annotations, or high-quality exports, consider using third-party software.
3.1 OBS Studio (Free & Open-Source)
- Supports screen recording & live streaming.
- Customizable layouts and audio mixing.
- Works well for gamers and content creators.
3.2 ScreenFlow (Paid, Professional Grade)
- Powerful editing features integrated into the software.
- High-quality output and frame rate control.
- Best for creating professional tutorials.
3.3 Camtasia (Paid, User-Friendly)
- Drag-and-drop editing interface.
- Advanced screen recording options.
- Ideal for businesses and educators.
4. How to Edit and Enhance Your Screen Recordings
Once you record your screen, you may want to edit or enhance the video before sharing it.
4.1 Editing with iMovie (Free, Built-in Mac Software)
- Trim unwanted sections.
- Add text, transitions, and effects.
- Export in multiple formats.
4.2 Editing with Final Cut Pro (Paid, Advanced Editing)
- Professional editing tools.
- Advanced color grading and motion graphics.
- Best for high-end video production.
5. Tips for High-Quality Screen Recordings
To ensure crisp, professional recordings, follow these tips:
- Use a High-Resolution Display: If possible, record on Retina Display settings for maximum clarity.
- Adjust Frame Rate: Higher frame rates (e.g., 60fps) provide smoother motion.
- Enable Do Not Disturb: Prevent notifications from appearing during recording (
System Preferences > Focus > Do Not Disturb). - Use an External Microphone: If recording voiceovers, an external mic improves audio quality.
6. Where to Find Your Screen Recordings on Mac
By default, macOS saves recordings to the Desktop. If you need to change this:
- Open
Command + Shift + 5toolbar. - Click
Optionsand select a new save location. - Choose between Desktop, Documents, or a custom folder.
Concluding remarks
Screen recording on Mac is simple and effective, whether using built-in tools like QuickTime Player and Screenshot Toolbar, or advanced third-party software like OBS Studio, ScreenFlow, or Camtasia. By following this guide, you can easily record, edit, and share high-quality screen recordings for various purposes.


